Saturday, March 31, 2012

Mod Bud Journal

I have my second-last Curves Camp project to share with you today!  It's the Mod Bud Journal which is for Max's teacher who is unfortunately moving over to the school library next term while his new teacher returns from maternity leave.


Front Cover

We were quite disappointed when we were broken the news because his teacher is adorable and I just can't imagine the new teacher being able to fill her shoes.  I've been told nice things about the new/old teacher, so I'm hoping it'll work out OK.


Inside Front Cover

I have personalised this with a little raw edge applique and free-motion embroidery on the cover and the inside cover with her name "Ms Fritz".  I love that she'll have something cute and personal to show off in the staffroom.


Inside Back Cover

It was purely a co-incidence that the journal had a flower on the front, and I didn't even come up with the idea for personalisation until I was already underway with the making.  I just wish I had spaced it all out better, I tried to account for seam allowance but obviously, not well enough!


Back Cover

I showed my niece today, who is also a Kindergarten teacher and she thought it was a fantastic gift (she gets some pretty awesome stuff - perfume, gift vouchers etc).  This journal cover fits a standard A4 notebook which means once you fill up this one you can take it out and put in a new one.


Back and Front

I hosted Lewis' 4th birthday party this morning (his birthday is later in the week) .  There were about 10 boys from preschool (plus parents and a few siblings) at a local park, the weather was glorious and we almost had the park and playground to ourselves.

I feel kinda wiped out now but I'm trying to find some energy for some more sewing.  You see I have an incentive:  Rachel promised a handmade present for all the people who complete one project from each week of Curves Camp.  I've got one more project to go - the Wheel Quilt but have I got the stamina to make a quilt top by the deadline in 20hrs?  I really just want to flake out...

Monday, March 26, 2012

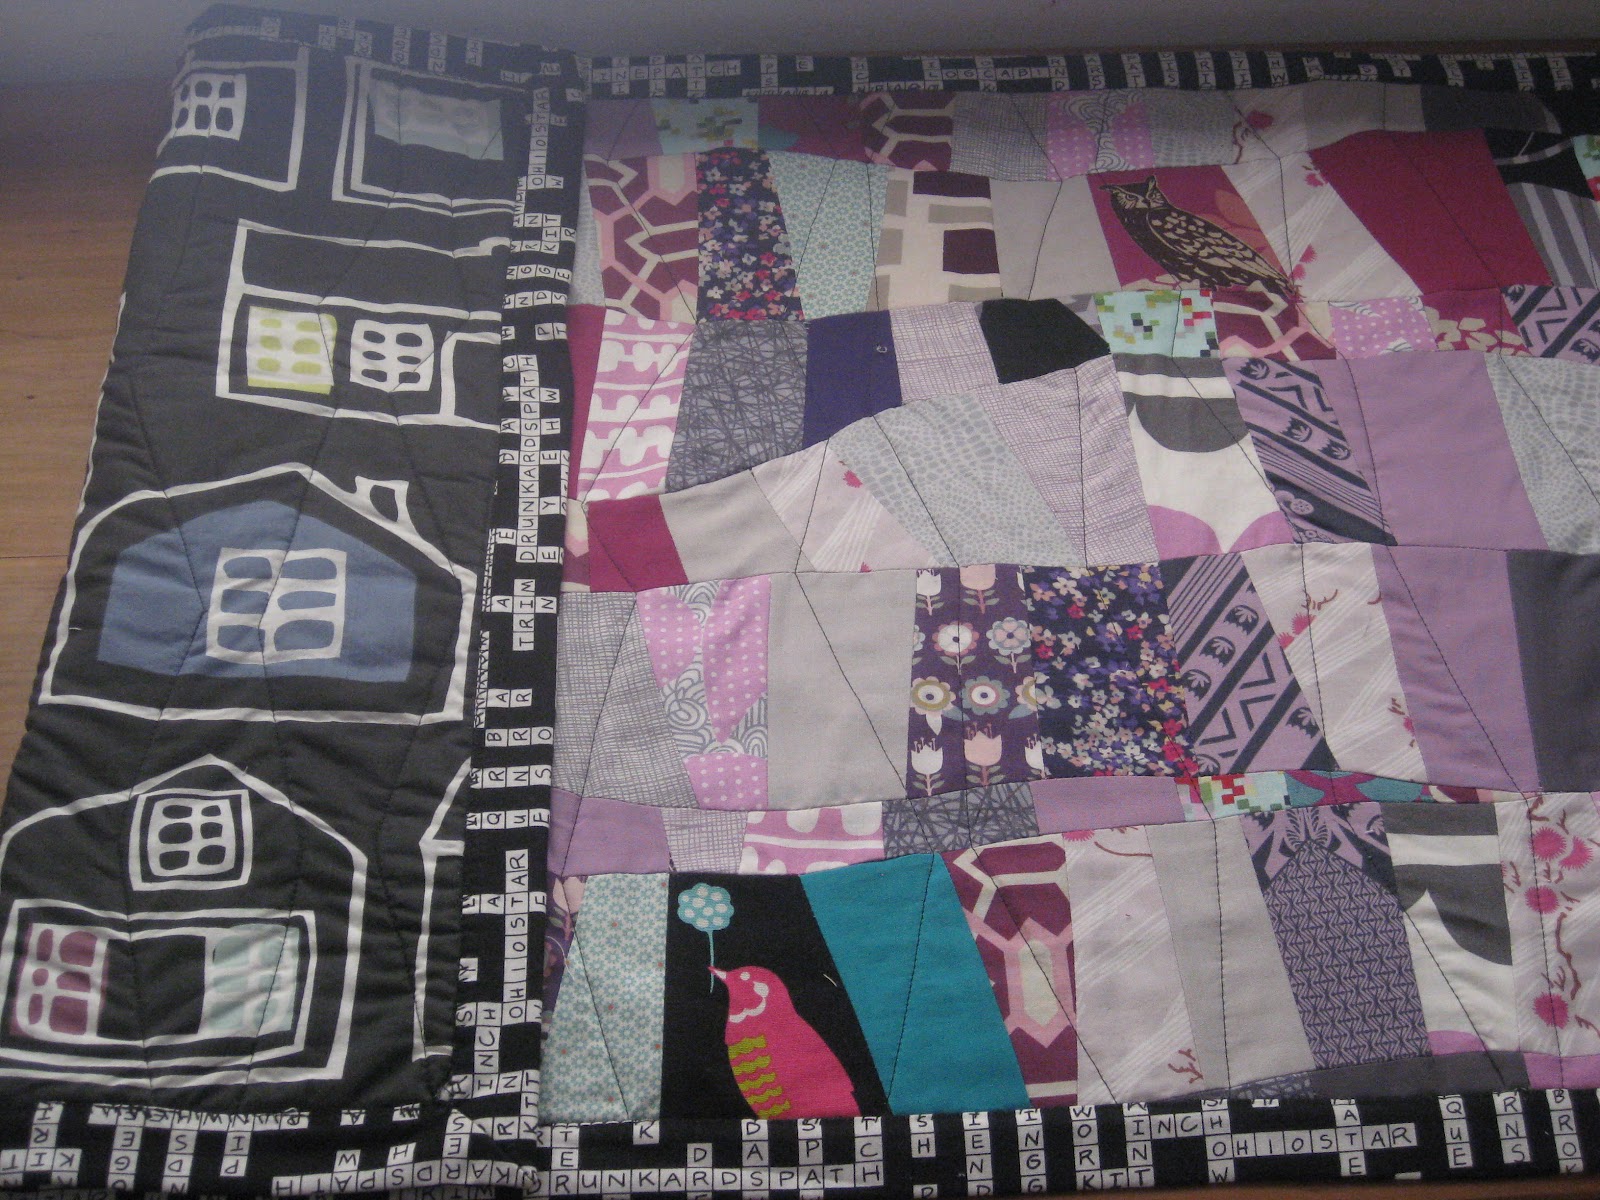
Rainbow Road Reveal

Finally, I've found the time to take photos of my finished Rainbow Road table runner.  Unfortunately it was such a lovely sunny day that even with the blinds down the photos have got a lot of glare.  I would really love a better camera, digital SLR if my fairy godmother is listening? :-)


I had to completely clear my desk/work table so that's why I needed the extra time to snap these and it wasn't until I put my iMac back and downloaded the photos that I could see that they weren't the best.


Having this runner on my work area is awesome because I get to look at all those pretty fabrics and it's protecting my antique table/desk as well.  I already scratched it last year when I was giving the sewing machine a mini-service.

My house doesn't have many homemade projects around, nearly all the things I made last year were gifted to others, except for bonnets and a couple of softies.  My priority is to make some things for us this year!


Here's a shot which shows the Ikea fabric on the back.  It really doesn't photograph very well, the colours are such a great match, charcoal, dusty mauve, pale aqua.

Binding Front

Now onto the binding.  I remember seeing a quilt last year that had a really wide binding so I wanted to replicate that because I really like the look for a table runner and also because I didn't want the binding to be thick and hurt my wrists as I type.

Binding Back

The binding strips were cut 5" wide!! After I attached it I realised the traditional mitred corners were not going to work with these wider strips.  I was tearing my hair out trying to figure out a way around it and had to rip off the binding to start again.  Luckily I worked it out because I really wanted to just get the damn thing finished! You can see that I machine stitched the binding on but this time I used a blanket stitch instead of zig-zag.  I think it came out really neat.

Of course, linking to {Sew} Modern Monday!

Friday, March 23, 2012

Drunkards Path Conquered


Look at these gorgeous blocks!  I'm just drooling all over them because I've used my favourite Anna Maria Horner prints from Garden Party, Good Folks and Innocent Crush plus a little Echino too.

The second block (right) was much faster and easier because I remembered to starch my pieces before I sewed the curves.  I also found sewing Echino weight with regular quilting weight a tad trickier.  Anyway, they look fab, I'm so happy with them.  This project was supposed to end up being a pot holder from Curves Camp but I would rather use these blocks to make a pillow for our living room.

I'm working out whether to add two more DP blocks or mix it up a bit?  I'm going to put these blocks aside for now while I start work on the next project on the Curves list (Mod Bud).

Monday, March 19, 2012

Hometown Runner Reveal


I'm very pleased to have a reveal for you.  Whilst guests were arriving yesterday afternoon, I was holed up on my bed finishing off the the binding.  I opted to hand stitch it this time as I wanted a really professional finish since it was going to someone else's home (and my MIL lives in a Retirement Village, no doubt there will be loads of scrupulous eyes from some old school crafters!!).

Not happy with the hand quilting

I really wasn't sure how I was going to quilt this one.  I wanted to show off the octagons and diamonds.  I thought this smallish piece would be a great one to try out hand quilting, so I went to my LQS and bought some Perle and Sashico Needles and came home and had a go at some hand quilting just inside the octagons.  After I did two I really didn't like it, my stitches were too rustic and my MIL's aesthetic is too modern.  I ripped them out and then I tried machine quilting inside the octagons which was looking great but I really didn't want to deal with hiding all those loose tails.


Better view of the straight line quilting on the back

In the end I went back to original source of inspiration here and did some straight line quilting either side of the seams.  I didn't even bother to draw the lines, just used my foot to measure approx. 1/8" to the right of the seam line, when you get to the end you turn it around and go back the other way.  It worked fairly well where the seams match up perfectly, not so great when you have to account for those little seams that are not.  It still looks good and just me being super-critical.


And here's a couple of happy snaps with the recipient.  The pattern and tutorial is the Summer Runner by Cluck Cluck Sew.

Linking to {Sew} Modern Monday.

Friday, March 16, 2012

Hometown Table Runner Pieced


Just in the nick of time, I've pieced together the top of this table runner.  I'll have to get Jack to take his Mum out for a couple of hours tomorrow so that I can get it quilted and bound.  Any ideas on quilting?  I'm no good at stippling and I want it to be fast.

The feral bathroom is screaming out to be cleaned before I go on the school run and to the airport.